起步依赖
上一篇笔记中,我们深入学习和分析了SpringBoot的配置文件定义和自动配置的原理,而Starter(起步依赖)是SpringBoot的另一个核心特性,我们知道Spring框架的生态非常强大,起步依赖结合SpringBoot的自动配置机制,我们很容易实现一些开箱即用的特性。
引入起步依赖
一般来说,起步依赖都是以类似spring-boot-starter-xxx的格式命名的,极少数可能特立独行的写为xxx-spring-boot-starter,但只要内部遵循了SpringBoot的自动配置规则,它就是一个合格的起步依赖。
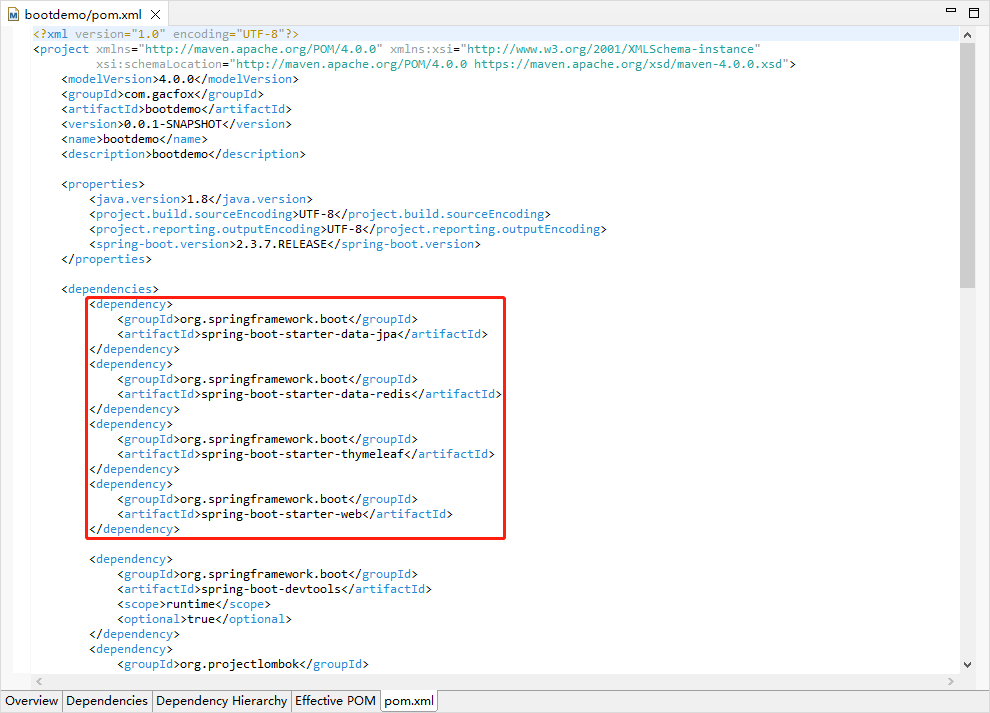
使用Spring Initializr创建工程时,我们可以直接在列表中选择起步依赖;除此之外,创建完工程后我们也可以在工程pom.xml中增删起步依赖。
自定义起步依赖
理解起步依赖最好的方式就是自己编写一个,实际开发中如果需要对某些框架进行SpringBoot集成,也需要我们掌握自定义起步依赖的知识。
pom.xml
我们自己编写起步依赖,最好也遵循spring-boot-starter-xxx的命名格式。起步依赖中,我们应使用spring-boot-starter-parent作为父POM来继承默认配置和依赖版本管理。另外,还需要添加spring-boot-configuration-processor依赖,它用于生成配置元数据(spring-configuration-metadata.json)以支持用户使用我们的起步依赖时具备IDE的自动提示。此外,为了开发方便,我们还引入了Lombok的依赖,实际开发中我们可根据个人喜好选择。
<?xml version="1.0" encoding="UTF-8"?>
<project xmlns="http://maven.apache.org/POM/4.0.0" xmlns:xsi="http://www.w3.org/2001/XMLSchema-instance"
         xsi:schemaLocation="http://maven.apache.org/POM/4.0.0 https://maven.apache.org/xsd/maven-4.0.0.xsd">
    <modelVersion>4.0.0</modelVersion>
    <parent>
        <groupId>org.springframework.boot</groupId>
        <artifactId>spring-boot-starter-parent</artifactId>
        <version>3.5.9</version>
        <relativePath/>
    </parent>

    <groupId>com.gacfox.demo</groupId>
    <artifactId>spring-boot-starter-demo</artifactId>
    <version>0.0.1-SNAPSHOT</version>

    <properties>
        <java.version>21</java.version>
        <project.build.sourceEncoding>UTF-8</project.build.sourceEncoding>
    </properties>

    <dependencies>
        <dependency>
            <groupId>org.springframework.boot</groupId>
            <artifactId>spring-boot-starter</artifactId>
        </dependency>
        <dependency>
            <groupId>org.springframework.boot</groupId>
            <artifactId>spring-boot-configuration-processor</artifactId>
            <optional>true</optional>
        </dependency>
        <dependency>
            <groupId>org.projectlombok</groupId>
            <artifactId>lombok</artifactId>
        </dependency>
    </dependencies>
</project>
注册Bean
这里假设我们的需求是这样的:Starter中注册一个名为DemoClient的Spring Bean到IoC容器,供用户注入到应用程序的其它地方。引入Starter的应用支持在application.properties中编写2个配置,demo.server-host和demo.server-port,例子如下。
demo.server-host=127.0.0.1
demo.server-port=8080
下面是Starter工程的目录结构。
src
└── main
    ├── java
    │   └── com
    │       └── gacfox
    │           └── demo
    │               ├── DemoAutoConfiguration.java
    │               ├── DemoClient.java
    │               └── DemoProperties.java
    └── resources
        └── META-INF
            └── spring
                └── org.springframework.boot.autoconfigure.AutoConfiguration.imports
DemoProperties.java
package com.gacfox.demo;

import lombok.Data;
import org.springframework.boot.context.properties.ConfigurationProperties;

@Data
@ConfigurationProperties(prefix = "demo")
public class DemoProperties {
    private String serverHost;
    private int serverPort;
}
DemoClient.java
package com.gacfox.demo;

public class DemoClient {
    private final String serverHost;
    private final int serverPort;

    public DemoClient(DemoProperties properties) {
        this.serverHost = properties.getServerHost();
        this.serverPort = properties.getServerPort();
    }

    public void getData() {
        System.out.println("Got data from " + serverHost + ":" + serverPort);
    }
}
DemoAutoConfiguration.java
package com.gacfox.demo;

import org.springframework.boot.context.properties.EnableConfigurationProperties;
import org.springframework.context.annotation.Bean;
import org.springframework.context.annotation.Configuration;

@Configuration
@EnableConfigurationProperties(DemoProperties.class)
public class DemoAutoConfiguration {
    @Bean
    public DemoClient demoClient(DemoProperties properties) {
        return new DemoClient(properties);
    }
}
META-INF/spring/org.springframework.boot.autoconfigure.AutoConfiguration.imports
com.gacfox.demo.DemoAutoConfiguration
从上面代码可以看出,我们注册Bean的实现方式是这样的:SpringBoot加载AutoConfiguration.imports文件,导入DemoAutoConfiguration,该配置类通过@EnableConfigurationProperties启用DemoProperties的绑定,并创建DemoClientBean,DemoProperties则从application.properties读取了配置。
此时在具体的工程中,我们使用@Autowired就可以依赖注入DemoClient这个Bean了。另外,由于我们引入了spring-boot-configuration-processor这个包,Starter工程在实际打包时会生成一个META-INF/spring-configuration-metadata.json,它是application.properties的约束文件,IDE(如Eclipse)等能够读取这个配置文件并生成自动提示。当然,你也可以手动编写spring-configuration-metadata.json来增强提示,格式参考自动生成的文件即可。